Laucke Crusty White Bread Mix: A Comprehensive Guide
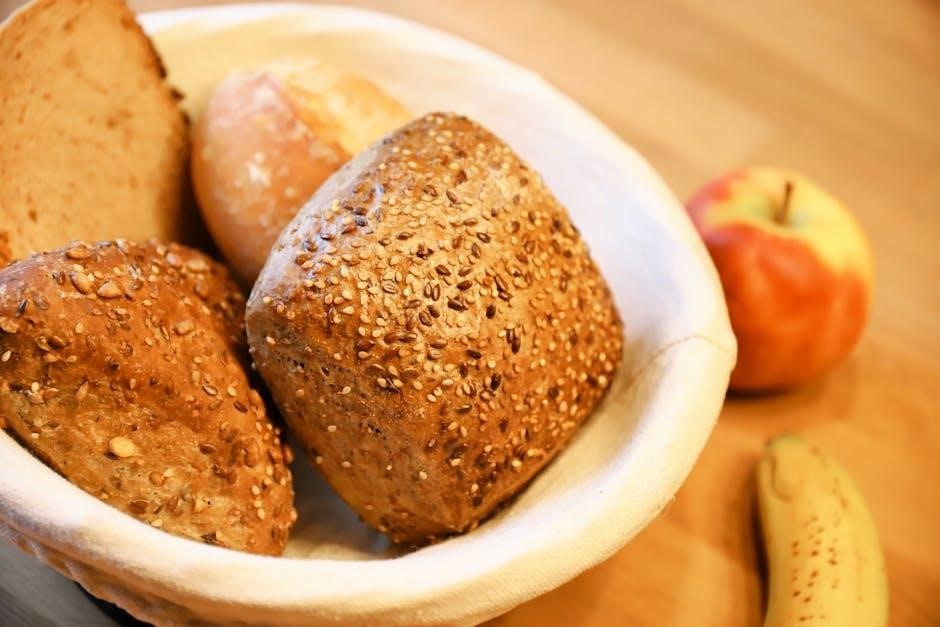
Baking warm‚ crusty white bread is achievable with ease; this mix delivers golden loaves ideal for daily meals‚ offering a rewarding and wholesome weekend activity․
Understanding the Laucke Mix
Laucke Crusty White Bread Mix simplifies the art of homemade bread‚ offering convenience without sacrificing quality or flavor․ This pre-blended mix takes the guesswork out of ingredient proportions‚ ensuring consistent results every time you bake․ It’s a fantastic option for both novice bakers and experienced bread makers looking for a streamlined process․
The appeal of using a mix lies in its ability to deliver that comforting aroma and taste of freshly baked bread‚ filling your kitchen with delightful scents․ Whether you’re aiming for a hearty loaf for everyday sandwiches or a crusty accompaniment to a delicious meal‚ this mix provides a solid foundation․ It’s a gateway to enjoying the rewarding experience of baking bread at home‚ even with a busy lifestyle․ Discover the joy of creating wholesome goodness!
What is Laucke Crusty White Bread Mix?
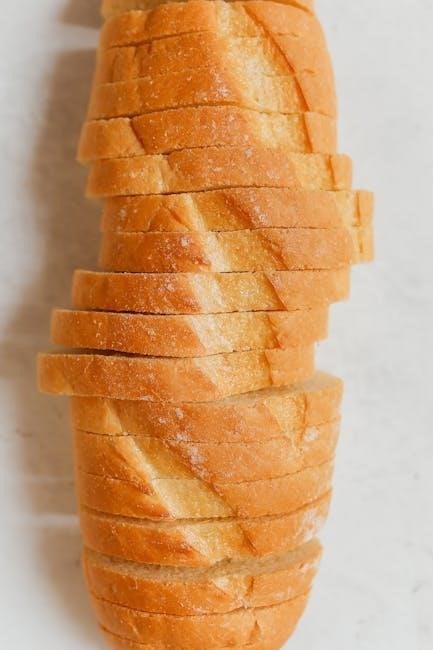
Laucke’s Crusty White Bread Mix is a carefully formulated blend designed to produce a classic‚ traditionally-flavored white loaf with a delightfully crisp crust․ It’s a convenient solution for achieving bakery-style bread in the comfort of your own kitchen‚ eliminating the need to measure out individual flour‚ yeast‚ and other ingredients․
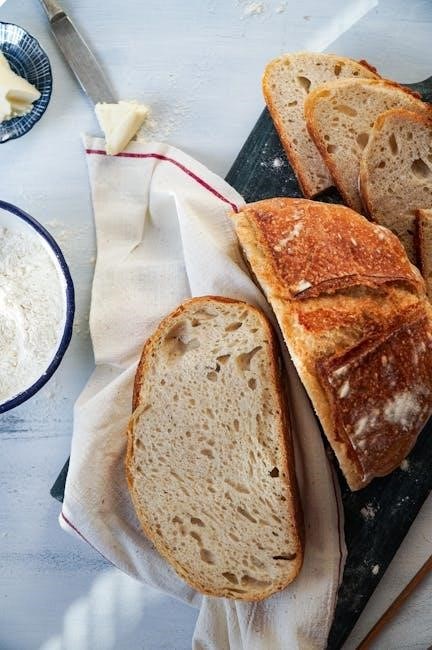
This mix embodies the essence of homemade goodness‚ offering a rewarding baking experience․ It’s perfect for those seeking a simple yet satisfying way to enjoy fresh bread‚ ideal for everyday meals or special occasions․ The mix allows you to effortlessly create golden loaves‚ perfect for sandwiches‚ toast‚ or simply enjoying with a spread․ It’s a versatile base for culinary creativity‚ bringing the warmth and comfort of freshly baked bread to your table with minimal effort․
Key Ingredients in the Mix
While Laucke doesn’t publicly disclose the exact proprietary blend‚ their Crusty White Bread Mix fundamentally relies on premium wheat flour as its base‚ providing the structure for the loaf․ It incorporates instant yeast‚ ensuring reliable and consistent rising without needing pre-proofing․ Dough conditioners are included to enhance gluten development‚ resulting in a softer crumb and improved texture․
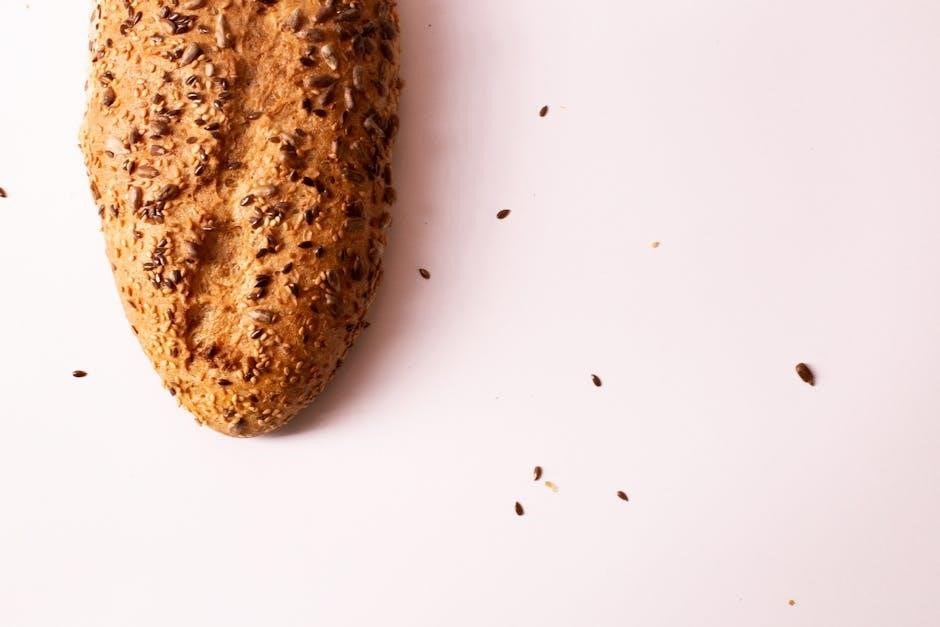
The mix also contains a small amount of vegetable oil for added richness and moisture‚ contributing to a tender loaf․ Various wheat-based ingredients likely contribute to the crust’s characteristic crispness․ Importantly‚ it’s formulated to require only the addition of water to activate these components‚ simplifying the baking process․ Some variations may include a touch of salt to enhance flavor‚ though additional seasoning‚ like smoked paprika salt‚ can be added for a personalized touch․
Preparing to Bake: Essential Steps
Before starting‚ gather your equipment and ensure accurate ingredient measurements; homemade bread is a comforting activity‚ filling your kitchen with delightful aromas․
Required Equipment
To successfully bake with the Laucke Crusty White Bread Mix‚ a few essential pieces of equipment will significantly streamline the process and contribute to a fantastic final result․ Firstly‚ a large mixing bowl is crucial – ideally one that’s at least 3-4 liters in capacity‚ allowing ample space for the dough to rise during the initial fermentation stage․ A sturdy wooden spoon or a stand mixer with a dough hook attachment will be invaluable for effectively combining the ingredients․
Next‚ you’ll need a clean‚ flat surface for kneading the dough․ A lightly floured benchtop works perfectly․ A baking tray‚ preferably a dark metal one‚ is necessary for baking the loaf‚ and parchment paper is highly recommended to prevent sticking․ For creating steam – vital for a truly crusty loaf – you’ll require a heatproof dish or pan that can safely be placed in the oven during baking․ Finally‚ a sharp knife or bread lame is needed for scoring the loaf before it goes into the oven‚ controlling the expansion and creating an attractive finish․
Measuring Ingredients Accurately
Achieving consistent results with the Laucke Crusty White Bread Mix hinges on precise ingredient measurements․ Baking is a science‚ and even slight deviations can impact the final texture and rise of your bread․ Always utilize measuring cups and spoons specifically designed for baking; avoid using standard kitchen utensils․ For dry ingredients like the bread mix itself‚ the ‘spoon and level’ method is best – spoon the ingredient into the measuring cup and then level off the excess with a straight edge․
Liquid measurements‚ particularly water‚ should be taken in a liquid measuring cup‚ viewed at eye level to ensure accuracy․ While the mix instructions will specify quantities‚ remember that humidity and flour variations can sometimes necessitate minor adjustments․ Trust your instincts‚ and observe the dough’s consistency – it should form a soft‚ slightly sticky ball․ Accurate measurements are the foundation of a successful bake‚ leading to consistently delicious results․
Water Temperature Considerations
The temperature of the water you use with the Laucke Crusty White Bread Mix is crucial for activating the yeast and achieving optimal dough development․ Generally‚ lukewarm water – between 24°C and 27°C (75°F and 80°F) – is ideal․ Water that is too cold will hinder yeast activity‚ resulting in a slow rise and a dense loaf․ Conversely‚ water that is too hot can kill the yeast‚ rendering it ineffective․
Using a thermometer is highly recommended to ensure accuracy․ If you don’t have a thermometer‚ test the water temperature by dipping your finger in; it should feel comfortably warm‚ not hot․ Remember that the temperature of your kitchen environment can also influence the water temperature․ Adjust accordingly to maintain the optimal range․ Proper water temperature is a key element in unlocking the full potential of the mix‚ guaranteeing a light‚ airy‚ and flavorful bread․
The Baking Process: Step-by-Step
Follow this simple recipe to create golden loaves‚ perfect for everyday meals‚ and enjoy the rewarding experience of filling your kitchen with comforting flavors․
Mixing the Dough
Begin by emptying the entire Laucke Crusty White Bread Mix into a large mixing bowl․ This ensures all dry ingredients are combined for consistent results․ Gradually add the required amount of warm water – temperature is crucial‚ as detailed later – while simultaneously mixing with a sturdy spoon or a dough hook attachment on your stand mixer․
Continue mixing until a shaggy dough forms․ Don’t overwork it at this stage; the goal is simply to bring the ingredients together․ Once a cohesive mass develops‚ turn the dough out onto a lightly floured surface․ Knead for approximately 8-10 minutes․ The dough should become smooth‚ elastic‚ and slightly tacky‚ but not sticky․ If it’s too wet‚ add a little flour‚ one tablespoon at a time․ Remember‚ a well-developed dough is key to a great loaf‚ providing structure and texture․ Consistent kneading builds gluten‚ resulting in a delightful‚ chewy crumb․
First Rise (Bulk Fermentation)
After kneading‚ place the dough into a lightly oiled large bowl‚ turning it to coat all sides․ This prevents sticking and allows for even rising․ Cover the bowl tightly with plastic wrap or a damp tea towel․ Now‚ allow the dough to rise in a warm‚ draft-free location for approximately 60-90 minutes‚ or until it has doubled in size․
This initial rise‚ known as bulk fermentation‚ is vital for developing flavor and texture․ The yeast actively consumes sugars‚ producing carbon dioxide which creates air pockets within the dough․ Gently punching down the dough after the first rise releases some of the gas and redistributes the yeast‚ ensuring a more even crumb structure․ Don’t skip this step; it’s fundamental to achieving that classic crusty white bread experience‚ filling your kitchen with comforting aromas․
Shaping the Loaf
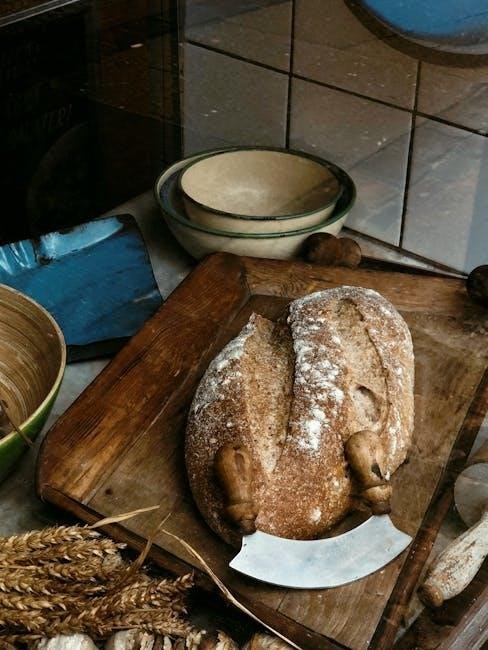
Gently turn the dough out onto a lightly floured surface․ Briefly knead it to release any remaining large air bubbles․ Shape the dough into your desired loaf form – a classic oval or round are popular choices․ To create a round loaf‚ gently pull the edges of the dough towards the center‚ then flip it over and cup your hands around it‚ rotating to create surface tension․
For an oval loaf‚ flatten the dough slightly and then roll it tightly from one end to the other‚ pinching the seam to seal․ Place the shaped loaf‚ seam-side down‚ onto a baking tray lined with parchment paper․ Proper shaping is crucial for achieving a well-risen and aesthetically pleasing loaf‚ contributing to the overall enjoyment of freshly baked bread‚ a truly wholesome activity․
Second Rise (Proofing)
Cover the shaped loaf loosely with plastic wrap or a clean‚ damp tea towel․ Allow it to rise in a warm‚ draft-free place for approximately 30-45 minutes‚ or until nearly doubled in size․ This second rise‚ known as proofing‚ is vital for developing the bread’s final texture and flavor․ Gently poke the dough; if the indentation slowly springs back‚ it’s ready for baking․
Avoid over-proofing‚ as this can lead to a collapsed loaf․ A well-proofed loaf will have a light and airy crumb․ Remember‚ patience is key when baking bread – allowing sufficient time for each stage ensures a superior result‚ filling your kitchen with comforting aromas and delivering a truly rewarding experience‚ perfect for everyday meals․
Baking for a Perfect Crust
Achieving a delightful‚ golden crust involves precise oven temperature and baking time‚ alongside creating steam during baking for optimal results and flavor․
Oven Temperature and Baking Time
For consistently excellent results with Laucke Crusty White Bread Mix‚ preheating your oven is paramount․ A temperature of 220°C (200°C fan-forced‚ or 425°F) is generally recommended to initiate that crucial crust development․ The initial baking phase typically lasts for approximately 30 minutes at this high temperature‚ encouraging a robust rise and golden-brown color․
Following the initial burst of heat‚ reduce the oven temperature to 180°C (160°C fan-forced‚ or 350°F) and continue baking for an additional 15-20 minutes․ This gentler heat ensures the loaf cooks through completely‚ preventing a burnt exterior while maintaining a soft‚ airy interior․ Total baking time will therefore range between 45 and 50 minutes‚ but always rely on visual cues and a hollow sound when tapped to confirm doneness․
Remember that oven variations exist‚ so monitoring closely is key․ Adjust baking times slightly if needed‚ and consider rotating the loaf halfway through for even browning․ Consistent temperature and timing are vital for a truly crusty and delicious outcome․
Creating Steam for a Crusty Loaf
Achieving that desirable‚ crackling crust with Laucke Crusty White Bread Mix hinges on generating steam during the initial baking stages․ Steam delays crust formation‚ allowing the loaf to expand fully before setting‚ resulting in a lighter‚ airier texture and a beautifully crisp exterior; Several methods can accomplish this․
One effective technique involves placing a shallow pan of boiling water on the oven floor during the first 20 minutes of baking․ The evaporating water creates a humid environment․ Alternatively‚ generously spray the oven walls with water immediately after loading the bread‚ repeating this once or twice in the first few minutes․
Another option is to bake the loaf inside a Dutch oven or covered baking dish for the first half of the baking time‚ trapping the steam created by the dough itself․ Removing the lid for the remaining baking period allows for browning and crisping․ Regardless of the method‚ be cautious when working with hot water and steam to avoid burns․
Checking for Doneness
Determining when your Laucke Crusty White Bread is perfectly baked requires a combination of visual cues and a simple test․ The loaf should exhibit a deep golden-brown color‚ indicating sufficient Maillard reaction and crust development․ A hollow sound is a key indicator; gently tap the bottom of the loaf – it should resonate with emptiness․
Internal temperature is the most reliable method․ Use an instant-read thermometer inserted into the center of the loaf; a temperature of 93-99°C (200-210°F) signifies completion․ If the crust is browning too quickly before the internal temperature is reached‚ tent the loaf loosely with foil․
Allowing the bread to cool completely on a wire rack before slicing is crucial․ This prevents a gummy texture and allows the internal structure to set properly․ Enjoy the fruits of your labor – a warm‚ crusty loaf perfect for any occasion!
Troubleshooting Common Issues
Addressing bread baking challenges—dense loaves‚ flat results‚ or pale crusts—is common; understanding causes and adjustments ensures successful‚ delightful homemade bread every time․
Dense or Heavy Bread
If your Laucke Crusty White Bread results in a dense or heavy loaf‚ several factors could be at play․ Insufficient yeast activity is a primary culprit; ensure your yeast isn’t expired and is properly activated in warm water with a pinch of sugar before mixing․
Over-kneading the dough can also contribute to density‚ developing too much gluten․ Conversely‚ under-kneading may not develop enough gluten structure for proper rise․ Accurate measurement of ingredients is crucial – too much flour relative to liquid will result in a heavy texture․
Furthermore‚ inadequate rising times‚ both during bulk fermentation and proofing‚ can hinder the development of air pockets․ Ensure the dough doubles in size during each rise in a warm‚ draft-free environment․ Finally‚ avoid opening the oven door frequently during baking‚ as this can cause temperature fluctuations and collapse the loaf’s structure․
Flat Loaf
A flat loaf when using Laucke Crusty White Bread Mix typically indicates insufficient gas production or a weak gluten structure․ Expired or inactive yeast is a common cause; always check the expiration date and proof the yeast in warm water before use․ Insufficient kneading can also lead to a flat loaf‚ as it doesn’t develop enough gluten to trap the gases produced during fermentation․
Over-proofing is another potential issue – allowing the dough to rise for too long can exhaust the yeast‚ resulting in a collapse during baking․ Conversely‚ under-proofing won’t allow sufficient gas to accumulate․ Ensure the dough doubles in size during proofing․
Too much liquid in the dough can weaken the gluten structure‚ and opening the oven door prematurely during baking can release steam and cause the loaf to fall․ A consistent oven temperature is also vital for proper oven spring․
Pale Crust
A pale crust with Laucke Crusty White Bread Mix often signals insufficient heat or lack of steam during baking․ Achieving a golden-brown‚ crusty exterior requires a hot oven and adequate moisture․ Ensure your oven is preheated to the correct temperature before placing the loaf inside; an inaccurate oven thermometer can be helpful․
Creating steam is crucial for crust development․ Methods include spraying water into the oven‚ placing a pan of hot water on the oven floor‚ or baking the bread in a covered Dutch oven initially․ Insufficient sugar in the dough can also contribute to a paler crust‚ as sugar caramelizes and adds color․
Avoid opening the oven door frequently during baking‚ as this releases heat and steam․ Brushing the loaf with milk or an egg wash before baking can enhance browning‚ providing a richer color and sheen․