Atwood Water Heater Troubleshooting Manual: An Overview
This manual provides comprehensive guidance for diagnosing and resolving issues with Atwood water heaters, covering both LP gas and electric operation․
It details common problems,
from no heat scenarios to component failures, offering step-by-step instructions for effective troubleshooting and repair, ensuring reliable hot water in your RV․
Understanding the system’s intricacies, including gas supply checks, electrical power verification, and component testing, is crucial for successful maintenance․
This resource also highlights preventative measures like flushing sediment and inspecting the anode rod, extending the lifespan of your Atwood water heater and preventing costly repairs․
Always prioritize safety by adhering to LP gas and electrical safety precautions, ensuring proper ventilation, and consulting schematics for accurate diagnostics․
This manual aims to empower RV owners and technicians with the knowledge to confidently address Atwood water heater challenges, maximizing performance and enjoyment․
Understanding Atwood Water Heater Systems
Atwood water heaters are commonly found in recreational vehicles, offering both propane (LP gas) and electric heating options for hot water on the go․ These systems typically consist of a tank, burner assembly (for LP mode), heating element (for electric mode), thermostat, high-limit switch, control board, and various safety devices like a thermal cut-off․

The LP gas system relies on a pilot light or electronic ignition to ignite the burner, heating the water directly․ Electric models utilize a 120V AC power source to energize the heating element, providing an alternative heating method․ A 12V DC system powers the control board and operates the gas valve․
Crucially, Atwood heaters incorporate safety features to prevent overheating and gas leaks․ The thermal cut-off protects against excessive temperatures caused by burner obstructions, while the high-limit switch shuts off the heating element if it reaches a dangerous level․ Understanding these components and their interactions is fundamental to effective troubleshooting․
Many models include a bypass valve, allowing water to flow around the heater, preventing damage during freezing temperatures․ Proper operation and maintenance of these systems require familiarity with their design and safety mechanisms․
Common Atwood Water Heater Models
Atwood manufactures a range of water heaters, catering to diverse RV sizes and needs․ Popular models include the Atwood 94220, a fully electric tank heater known for its simplicity and efficiency․ The 94150 series represents a common LP gas and electric hybrid option, frequently found in Forest River RVs and other brands․
Older systems may feature the Atwood 8532 series, which are primarily LP gas-powered with limited electric boost capabilities․ Tank sizes vary, typically ranging from 6 gallons to 10 gallons, influencing recovery time and hot water capacity․ Identifying the specific model number is crucial for accurate parts sourcing and troubleshooting․
Dometic acquired Atwood, so some units may bear the Dometic branding, but the underlying technology and troubleshooting procedures remain largely consistent․ Variations exist within each series, such as different control board configurations or burner designs․
Knowing your model allows access to the correct wiring diagrams and component specifications, streamlining the repair process․ Online resources and Atwood’s support channels can assist in model identification․

Troubleshooting: No Heat – LP Mode
When experiencing no heat in LP mode, systematically check the gas supply, pilot light, thermal cut-off switch, and burner for obstructions or malfunctions․
Checking the LP Gas Supply
Ensuring a sufficient LP gas supply is the first step when troubleshooting no heat in LP mode․ Begin by verifying that other LP appliances in your RV are functioning correctly – if the stove or furnace also lack gas, the issue likely lies with the main LP tank or regulator․
Check the tank’s gas level using the built-in gauge, or weigh the tank to determine its remaining capacity․ If the tank is low, refill it at a certified LP gas station․ Next, inspect the LP gas line running from the tank to the water heater for any visible damage, kinks, or leaks․
To check for leaks, apply a soapy water solution to all connections – fittings, valves, and the regulator․ Bubbles indicate a leak, which must be addressed immediately․ If a leak is detected, tighten the connection or replace the faulty component․ Finally, confirm the LP gas shut-off valve specifically for the water heater is fully open․
Pilot Light Issues & Relighting Procedures
A common cause of no heat in LP mode is a pilot light that has gone out․ Before attempting to relight, ensure the gas supply is on and there are no lingering gas odors․ Locate the pilot light assembly, typically accessible through a small access panel on the water heater․
Follow the manufacturer’s specific relighting instructions, usually involving turning the gas control knob to the “Pilot” position and pressing/holding the reset button while simultaneously igniting the pilot with a piezo igniter or match․ Continue holding the reset button for the recommended duration (often 30-60 seconds) after the pilot ignites․
If the pilot light repeatedly extinguishes, it could indicate a faulty thermocouple, a dirty pilot orifice, or a draft affecting the flame․ Inspect and clean the pilot orifice, and if the thermocouple is suspect, replace it․ If relighting consistently fails, consult a qualified RV technician․
Thermal Cut-Off Switch – Location and Testing
The thermal cut-off switch is a crucial safety device designed to prevent overheating within the Atwood water heater․ It’s typically located on the burner tube or flue tube, positioned to sense excessive temperatures caused by blocked combustion․
If the water heater isn’t heating, the thermal cut-off is a prime suspect․ Visually inspect the switch for signs of damage or discoloration․ To test, use a multimeter set to continuity․ Disconnect power first! A continuous circuit indicates a functioning switch, while no continuity signifies it has tripped and needs replacement․
Obstructions like spider webs or mud dauber nests can cause the flame to burn outside the burner tube, triggering the cut-off․ Clear any obstructions before replacing the switch․ Remember, a tripped thermal cut-off indicates an underlying issue that must be addressed to prevent recurrence․
Blocked Burner Tube – Inspection and Cleaning
A blocked burner tube is a frequent cause of heating problems in Atwood water heaters, hindering proper combustion and potentially triggering the thermal cut-off switch․ Insects, particularly spiders and mud wasps, often build nests within the tube, obstructing gas flow․
Begin by visually inspecting the burner tube for any visible obstructions at both the inlet and outlet․ Carefully disconnect the gas supply before proceeding with cleaning․ Use a small brush, compressed air, or a specialized burner cleaning tool to remove any debris․
Ensure the flue tube is also clear, as obstructions here can also cause incomplete combustion and overheating․ After cleaning, reassemble the components and test the water heater․ A clear burner tube is essential for efficient and safe operation, preventing potential hazards and ensuring consistent hot water․
Gas Valve Malfunction – Symptoms and Replacement
A malfunctioning gas valve can manifest in several ways, including a failure to ignite, inconsistent heating, or a complete lack of hot water even with a sufficient LP gas supply․ Difficulty maintaining a stable flame is another key indicator of a potential valve issue․
Before attempting replacement, verify the gas supply is adequate and the pilot light (if applicable) is functioning correctly․ If the valve is suspected, carefully disconnect the gas line and electrical connections․
Replacement requires a compatible Atwood gas valve; ensure the new valve matches the model number of your water heater․ Follow the manufacturer’s instructions precisely during installation, and always perform a leak test after reconnection using a soapy water solution․ A faulty gas valve poses a safety risk and must be addressed promptly․

Troubleshooting: No Heat – Electric Mode
When experiencing no heat in electric mode, systematically check the power supply, fuses, heating element, thermostat, and high-limit switch for proper function and continuity․
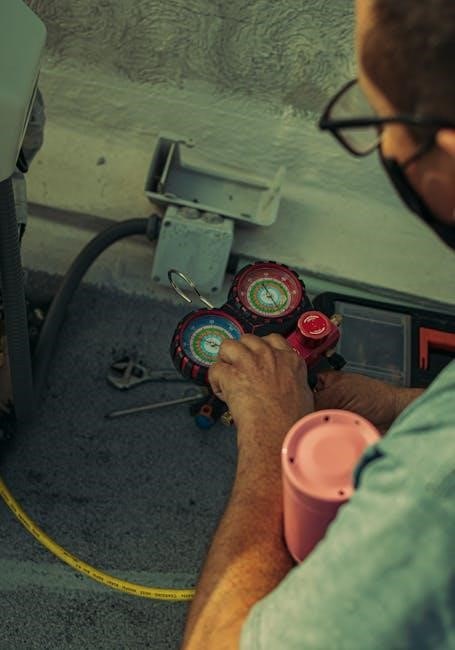
Electrical Power Supply Verification (12V & 120V)
Begin troubleshooting by confirming adequate electrical power to the Atwood water heater, checking both the 12-volt DC and 120-volt AC circuits․ Use a multimeter to verify voltage presence at the water heater’s connection points; a lack of voltage indicates a problem upstream․
For the 120V AC side, ensure the RV’s shore power connection is secure and the circuit breaker hasn’t tripped․ Trace the wiring back to the main electrical panel, testing for continuity along the way to identify potential breaks or loose connections․ The converter is a critical component, transforming 12V DC to 120V AC, so verify its output․
On the 12V DC side, check the RV’s house batteries and the converter’s 12V output․ A blown fuse in the converter or a disconnected battery can prevent the control board from receiving power․ Remember to test fuses for continuity, as visual inspection can be misleading․ Confirm the 12V switch inside the RV, dedicated to the electric heating element, is in the ‘on’ position․
Fuse Check – Converter and Water Heater Specific
A crucial step in Atwood water heater troubleshooting is a thorough fuse check, focusing on both the converter and any fuses specifically dedicated to the water heater itself․ Start with the converter, as it supplies power to the entire 12V system, including the water heater’s control board․
Locate the fuse panel within the converter and visually inspect each fuse․ However, don’t rely solely on appearance; always test for continuity using a multimeter․ A fuse can appear intact but have an internal break․ Note any blown fuses and replace them with fuses of the exact same amperage rating․
Next, check for inline fuses or fuses located near the water heater itself․ Some Atwood models have a dedicated fuse protecting the heating element circuit․ Again, test for continuity․ Repeatedly blown fuses indicate a short circuit that requires further investigation, not simply replacing the fuse․
Heating Element Testing – Continuity and Resistance
When diagnosing an Atwood water heater that isn’t heating in electric mode, testing the heating element is paramount․ Always disconnect power to the water heater before performing any electrical tests! Begin by checking for continuity using a multimeter․ A lack of continuity indicates a broken heating element, requiring replacement․
If continuity exists, measure the resistance of the heating element․ Compare the reading to the manufacturer’s specifications (typically found in the service manual or online)․ A significantly higher or lower resistance value suggests a faulty element․
Be aware that some elements have multiple taps for different voltage configurations․ Ensure you’re testing the correct taps for your system․ A shorted element will exhibit very low resistance (close to zero ohms), while an open element will show infinite resistance․
Thermostat Issues – Calibration and Replacement
If your Atwood water heater cycles on and off erratically or fails to maintain the desired temperature, the thermostat is a prime suspect․ Initially, visually inspect the thermostat for any signs of damage, such as corrosion or burnt contacts․ Some thermostats are adjustable; attempt a careful calibration following the manufacturer’s instructions, if available․
However, thermostats often fail completely and require replacement․ Use a multimeter to test the thermostat’s functionality․ It should open and close the circuit at the specified temperature․ A faulty thermostat may remain open, preventing heating, or closed, causing overheating․
When replacing the thermostat, ensure you obtain a compatible model for your specific Atwood water heater․ Proper installation is crucial for accurate temperature control and safe operation․ Always disconnect power before any work!
High Limit Switch – Function and Testing
The high limit switch is a critical safety device designed to prevent overheating within your Atwood water heater․ It automatically shuts off the heating element (electric mode) or gas valve (LP mode) if the water temperature exceeds a pre-set limit, protecting against potential damage and hazards․
To test the high limit switch, disconnect power and use a multimeter to check for continuity․ A functioning switch will show continuity until the temperature threshold is reached, at which point it will open the circuit․ If the switch shows no continuity, even at room temperature, it’s likely faulty and needs replacement․
A tripped high limit switch often indicates an underlying issue, such as sediment buildup or a malfunctioning thermostat․ Address these root causes before simply resetting or replacing the switch․ Always prioritize safety and consult the wiring diagram for proper testing and replacement procedures․
Advanced Troubleshooting & Component Checks
Delve into complex diagnostics, examining the control board for faults, scrutinizing wiring for corrosion, and verifying proper grounding for optimal performance․
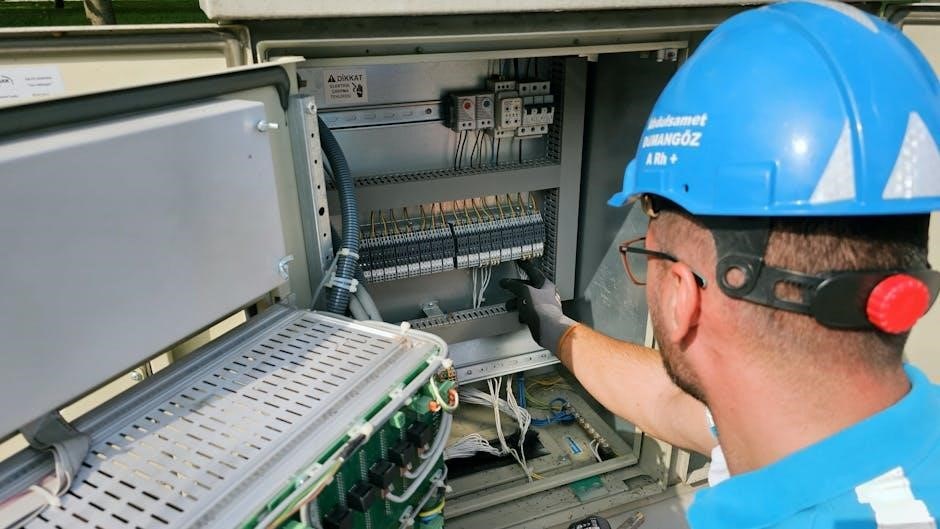
Control Board Diagnostics – Identifying Faults
The Atwood water heater control board is the central hub, managing both LP and electric functions; diagnosing faults requires a systematic approach․ Begin by visually inspecting the board for any signs of physical damage, such as burnt components or cracked solder joints․ Utilize a multimeter to check for proper voltage at the input terminals, ensuring the board receives adequate power․
Next, test the output signals to the gas valve and heating element, verifying they correspond to the selected mode․ A lack of signal indicates a potential board failure․ Pay close attention to the 12V DC power supply to the board, as fluctuations can cause erratic behavior․ If the board exhibits intermittent issues, gently tap or wiggle components while monitoring for changes․
Consult the Atwood wiring diagram to accurately identify each component and its corresponding connections․ Replacing the control board often resolves complex issues, but confirm compatibility with your specific model before installation․ Remember to disconnect power before any testing or replacement procedures․
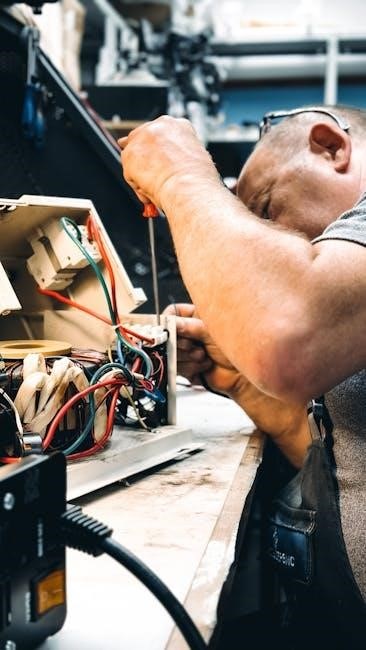
Wiring Issues – Corrosion and Loose Connections
Corrosion and loose connections are frequent culprits behind Atwood water heater malfunctions, disrupting electrical pathways and causing intermittent operation․ Begin by meticulously inspecting all wiring connections, focusing on those exposed to moisture or vibration․ Look for green or white corrosion on terminals and wires, indicating oxidation․ Gently tug on each wire to confirm secure connections; any movement suggests a loose terminal․
Disconnect power before cleaning corroded connections with a wire brush or electrical contact cleaner․ Re-tighten all screws and ensure proper contact․ Examine the wire insulation for cracks or damage, replacing any compromised wires immediately․ Pay particular attention to ground connections, as poor grounding can lead to erratic behavior and safety hazards․
Utilize a multimeter to test continuity along each wire, verifying an unbroken circuit․ Address any breaks or shorts promptly․ Properly routed and secured wiring prevents chafing and future connection issues․
Grounding Problems – Ensuring Proper Electrical Ground
A robust electrical ground is paramount for the safe and efficient operation of your Atwood water heater, preventing shocks and ensuring proper component function․ Begin by verifying the ground wire connection to the RV’s chassis; it should be clean, tight, and free of corrosion․ Use a multimeter to test continuity between the water heater’s ground terminal and the chassis, confirming a solid connection․
Inspect the grounding strap for damage or breaks, replacing it if necessary․ Poor grounding can cause erratic heater behavior, including intermittent operation or complete failure․ Ensure the chassis ground point itself is clean and securely fastened․
Remember that a compromised ground can render safety features ineffective․ Always prioritize a reliable ground connection when troubleshooting electrical issues, and consult a qualified technician if you are unsure about any aspect of the grounding system․
Preventative Maintenance
Regular flushing removes sediment, anode rod inspection prevents corrosion, and burner cleaning avoids obstructions, extending your Atwood water heater’s life and ensuring optimal performance․
Regular Flushing – Sediment Removal
Sediment buildup is a common issue in Atwood water heaters, significantly reducing efficiency and potentially causing damage over time․ Regular flushing is a crucial preventative maintenance step to combat this․ It’s recommended to flush the tank at least once a year, or more frequently if you frequently use water sources with high mineral content․
To flush the tank, begin by turning off the power (both electric and gas) and allowing the water to cool completely․ Then, open the pressure relief valve to allow air to enter the tank, facilitating drainage․ Drain the tank completely through the drain plug located at the bottom․
Once drained, carefully open the cold water inlet and allow it to run for several minutes to flush out any remaining sediment․ Close the drain plug, refill the tank, and check for leaks․ This simple process helps maintain optimal performance and prolongs the life of your Atwood water heater, preventing costly repairs down the road․
Anode Rod Inspection & Replacement
The anode rod is a sacrificial component designed to protect the steel tank of your Atwood water heater from corrosion․ It corrodes instead of the tank, extending the heater’s lifespan․ Regular inspection – ideally annually – is vital to ensure its effectiveness․
To inspect the anode rod, turn off the power and water supply, then drain the tank․ Locate the anode rod (typically accessible through a plug on the top or side of the heater)․ Carefully remove the rod and examine it․ If it’s significantly corroded – less than 6 inches of solid core remaining – it needs replacement․
Replacing the anode rod is a straightforward process․ Apply pipe thread sealant to the new rod’s threads and carefully screw it back into place․ Refill the tank and check for leaks․ Replacing a depleted anode rod is a cost-effective way to prevent tank failure and extend the life of your Atwood water heater․
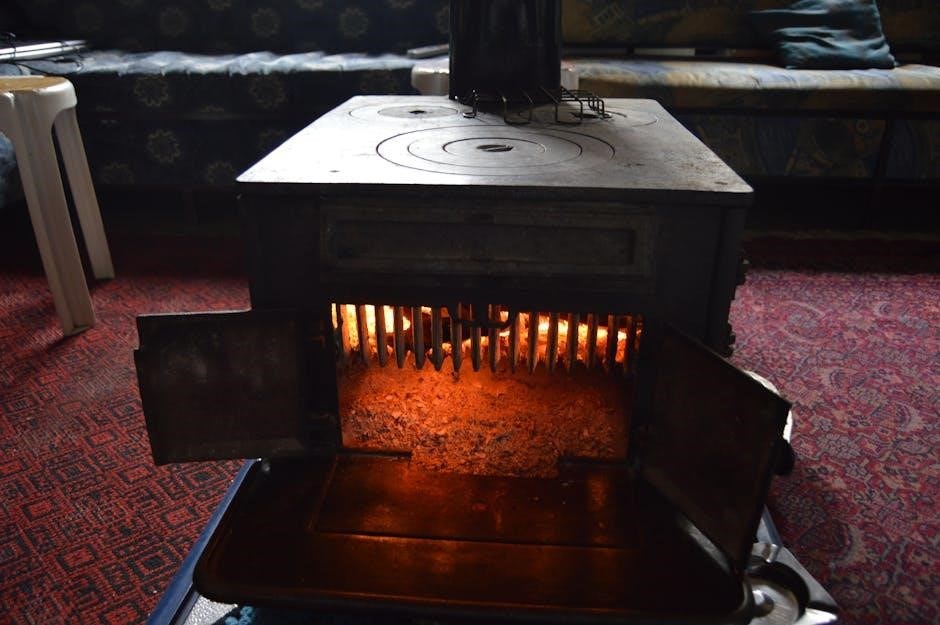
Burner Cleaning – Preventing Obstructions
A clean burner is essential for efficient and safe operation of your Atwood water heater․ Obstructions, often caused by spiders, mud daubers, or sediment, can lead to incomplete combustion, reduced heating performance, and even dangerous carbon monoxide buildup․
Before cleaning, disconnect the LP gas supply and ensure the heater is cool․ Carefully remove the burner assembly, following the manufacturer’s instructions․ Inspect the burner ports for any blockages․ Use a small wire or compressed air to clear any debris․ Pay close attention to the main burner tube, as obstructions here can trigger the thermal cut-off switch․
Reassemble the burner, ensuring all connections are secure․ After reconnection, perform a thorough leak test with soapy water․ Regular burner cleaning – at least annually – is a proactive step to maintain optimal performance and prevent potential safety hazards within your Atwood water heater system․
Safety Precautions
Prioritize safety when troubleshooting! Always verify LP gas leak detection, avoid electrical shock hazards, and ensure proper ventilation to prevent dangerous carbon monoxide accumulation․
LP Gas Safety – Leak Detection
Working with LP gas requires extreme caution due to its flammable nature․ Before commencing any troubleshooting involving the gas system, meticulously check for leaks using a commercially available LP gas leak detector solution – never use an open flame! Apply the solution to all gas connections, including fittings, hoses, and the regulator․
Bubbles forming indicate a leak, requiring immediate attention․ Do not operate the water heater if a leak is detected; shut off the gas supply at the tank and contact a qualified RV technician for repairs․ Be aware of the smell of propane (often described as rotten eggs) as an indicator of a leak, even if the detector doesn’t immediately reveal it․
Ensure adequate ventilation during and after any gas system work; Never attempt repairs if you are unsure or uncomfortable; professional assistance is always recommended․ Regularly inspect gas lines for damage or wear, and replace them promptly if necessary․ Remember, safety is paramount when dealing with LP gas․
Electrical Safety – Avoiding Shock Hazards
Prioritize electrical safety when troubleshooting your Atwood water heater to prevent potentially life-threatening shock hazards․ Always disconnect the RV’s shore power and disconnect the negative terminal of the house battery before working on any electrical components․ Verify the power is off using a non-contact voltage tester before touching any wires or connections․
Never work with wet hands or in damp conditions․ Inspect all wiring for damage, fraying, or corrosion, and replace any compromised wires immediately․ Ensure proper grounding of the water heater and the RV’s electrical system to minimize the risk of electrical shock․
If you are unfamiliar with electrical work, consult a qualified RV electrician․ Use insulated tools and wear appropriate personal protective equipment, such as safety glasses․ Remember, electricity can be dangerous, and caution is essential when performing any electrical troubleshooting or repairs․
Proper Ventilation – Preventing Carbon Monoxide Buildup
Maintaining adequate ventilation is paramount when operating an Atwood water heater, especially in LP gas mode, to prevent the dangerous buildup of carbon monoxide (CO)․ Carbon monoxide is a colorless, odorless gas that can be fatal․ Ensure the water heater’s vent pipe is unobstructed and properly connected to the RV’s venting system․
Regularly inspect the vent pipe for any blockages, such as bird nests, debris, or corrosion․ Never operate the water heater if the vent pipe is damaged or disconnected; Install and maintain a working carbon monoxide detector inside the RV, testing it periodically to ensure its functionality․
Be aware of the symptoms of carbon monoxide poisoning, which include headache, dizziness, nausea, and confusion․ If the detector alarms, immediately evacuate the RV and call emergency services․ Proper ventilation and a functioning CO detector are crucial for safe operation․

Resources & Diagrams
Accessing Atwood schematics, warranty details, and support is vital for effective troubleshooting and repair․
Locate parts easily through online retailers and Atwood’s official channels for seamless maintenance․
Locating Atwood Water Heater Schematics
Finding the correct schematic diagram is paramount for accurate troubleshooting of your Atwood water heater․ These diagrams illustrate the wiring configurations and component layouts, essential for understanding the system’s operation and identifying potential faults․ Several online resources can assist in locating these schematics․
Firstly, the Atwood website itself often provides downloadable schematics for various models․ Searching by model number is crucial for finding the precise diagram applicable to your unit․ Secondly, RV forums like Forest River Forums frequently host user-shared schematics and discussions regarding Atwood water heaters․ These forums can be invaluable for accessing diagrams not readily available elsewhere․
Additionally, websites specializing in RV parts and repair manuals often offer schematics for purchase or download․ When searching, be sure to specify the model number and year of your Atwood water heater to ensure compatibility․ Remember to always verify the schematic’s accuracy before relying on it for repairs․ A clear understanding of the diagram will significantly streamline the troubleshooting process and help you diagnose issues efficiently․
Warranty Information & Atwood Support
Understanding your Atwood water heater’s warranty coverage is crucial before attempting any repairs․ Typically, Atwood offers warranties on their products, covering defects in materials and workmanship for a specified period․ The warranty duration varies depending on the model and date of purchase, so retaining your original purchase receipt is essential․
To initiate a warranty claim, contact Atwood directly through their official website or customer support channels․ They may require proof of purchase, a detailed description of the issue, and potentially photos or videos documenting the problem․ The thermal cut-off switch, if defective and not damaged, may be covered under warranty․
Beyond warranty support, Atwood provides technical assistance to help diagnose and resolve issues․ Their support team can offer guidance on troubleshooting steps and identify potential replacement parts․ You can find contact information and support resources on the Atwood website․ Utilizing these resources can save time and ensure you receive accurate assistance for your Atwood water heater․
Common Atwood Water Heater Parts & Replacements
When troubleshooting an Atwood water heater, certain parts are frequently identified as potential replacements․ These include the heating element (particularly in electric models like the Atwood 94220), the thermostat, and the high limit switch․ A faulty thermal cut-off switch is also a common culprit, often requiring replacement if not damaged by external factors․
The gas valve is a critical component in LP models, and a malfunctioning valve can prevent proper heating․ Burner tubes can become blocked, necessitating cleaning or replacement․ Additionally, the control board may need diagnostics and potential replacement if other components test functional․
Replacement parts are widely available online and through RV parts retailers․ Ensure you have the correct model number when ordering to guarantee compatibility․ Consider purchasing a replacement anode rod during maintenance to prevent corrosion and extend the heater’s lifespan․ Always disconnect power before replacing any components․